Fluorescence Images: Merging and optimising
If you are using fluorescence microscopy you may need to merge images taken with different filter sets – for example DAPI to pick out nuclei together with fluorescent staining with or or more specific antibodies. Commonly you will want to merge these images into a composite. Image optimisation and merging can be achieved easily using the free Fiji package with ImageJ.
If you don’t have the program, you can get it from http://imagej.net/Fiji/Downloads. More information on Fiji at http://imagej.net/Fiji. ImageJ and Fiji come as a portable application – ie you do not need to install, just unpack the download and run the program from wherever you downloaded it.
The following notes were done using the Windows version; on a Mac there will be cosmetic changes in the appearance of the application and dialogues, but the processes should be essentially the same.
In the folder where you unpacked Fiji you will find the ImageJ application. Run this program:

The ImageJ application opens. On windows it looks like this.

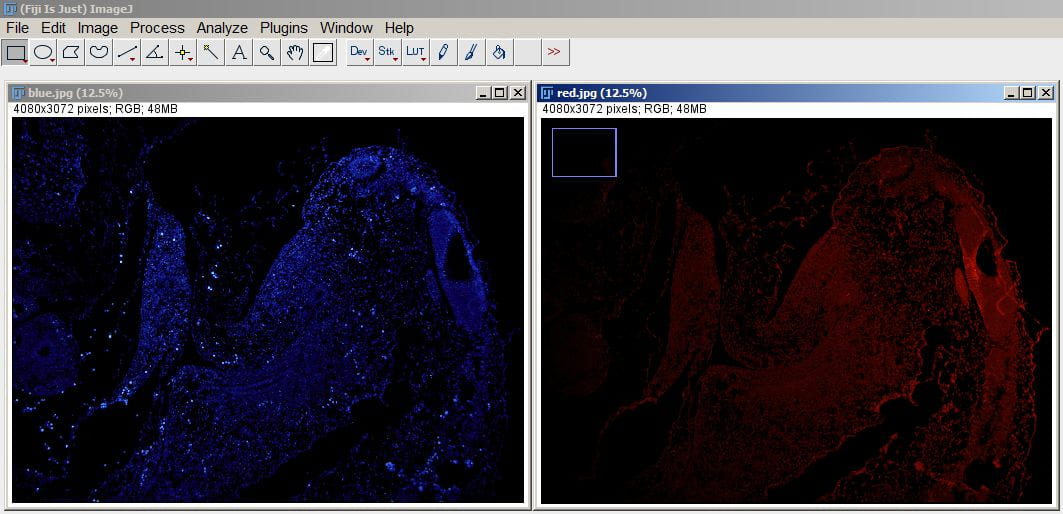
Use the menu File::Open (or use the shortcut Ctrl-O) and locate and open the first image file. Repeat to open the second image file. Let us assume you have opened two files called red.jpg and blue.jpg. By default these will open as separate floating windows. Note that you could use 3 files and merge red, blue and green channels just as easily.
For convenience I have maximised the ImageJ main window to fill the screen and used the Window::Tile menu to organise the two images.
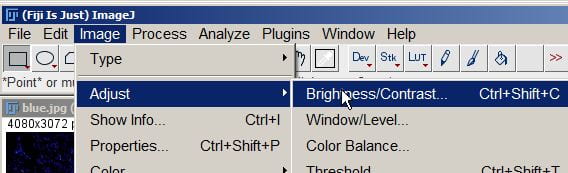
Select one of the images and use the Image::Adjust::Brightnes/Contrast menu to adjust the brightness, contrast etc. Have a play with the settings to get a feel for how they work.
In this case the red channel seems a little dull.
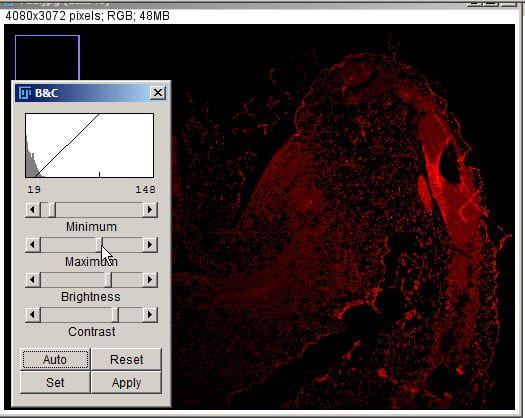
I have reduced the maximum slider to brighten the image (don’t take it too far or you will lose any graduation in brightness in the brighter areas) and I have moved the minimum slider a little to remove some of the background (again take care that you do not remove any meaningful information in this process. If in doubt, don’t adjust).. If you adjust, make a note of the settings you have selected (in this case Min=19, max=148). These changes are equivalent to changes you could achieve by altering the camera settings when you took the photo. The key is to avoid changes that alter the significant data in the image, rather than shifting the brightness levels. Repeat the process of adjusting on the other channel. Save the adjusted images (Menu FIle::SaveAs…) – I suggest using a new name like red-adjusted.jpg and blue-adjusted.jpg.
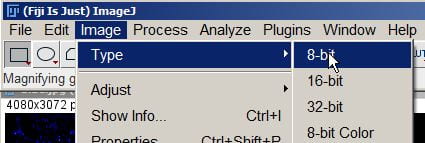
Now you want to combine the images. To do this you first need to make them both grayscale images. Use menu Image::Type::8-bit for each file.
Now merge the images with the Image::Color::MergeChannels…

In the dialogue, select which image you want for which colour channel and click OK.

You now have a merged image. If it looks OK, use File::SaveAs to save the merged image with a suitable name.
If you think you can get a better image with different adjustments to the colour channels, you can go back to your original files, re-adjust (I recommend starting from the very original files, re-adjust the brightness and contrast bearing in mind the settings you used before, and re-merge. If you readjust the adjusted files you will likely lose more image quality in the process.
Note that ImageJ also has filters for image sharpening (Process::Sharpen or a more customisable sharpening via Process::Filters::UnsharpMask), but note that these can be overdone, and they cannot be undone using Ctrl-Z or Edit::Undo, so save your image before you try them so you dislike the result you can close the mangled image and re-open the saved version. If you have photoshop or GIMP you can also use the unsharp mask process I describe in a previous post.